Warehouse automation: why it starts with reliable dimensions
Basics, first steps and common mistakes
Request a demoAn automated warehouse makes many decisions on its own: which item fits which container, which storage location is free, how much goes on a pallet and what a shipment costs. For that it needs the dimensions and weight of every item and every shipment. If these values are missing or wrong, even the best technology calculates with the wrong figures.
This guide shows why dimensioning comes first, where to start and which mistakes you should avoid.
Measure, connect, evaluate
It starts with measuring: the dimensions, weight and a photo of every item and every shipment, captured automatically and by the same rules every time.
Next comes the connection. The values go into your WMS, TMS or ERP without retyping and control containers, storage locations and freight calculation there.
Only then does evaluation pay off. Looking at the data over weeks shows where loading space stays unused, where master data is out of date and where surcharges arise.
Why dimensioning comes first
A WMS chooses containers and storage locations by the dimensions and weight of the items. Conveyors and automated storage systems need the same values to move and store items safely. Freight costs are based on them too, whether a shipment is billed by weight or by volumetric weight.
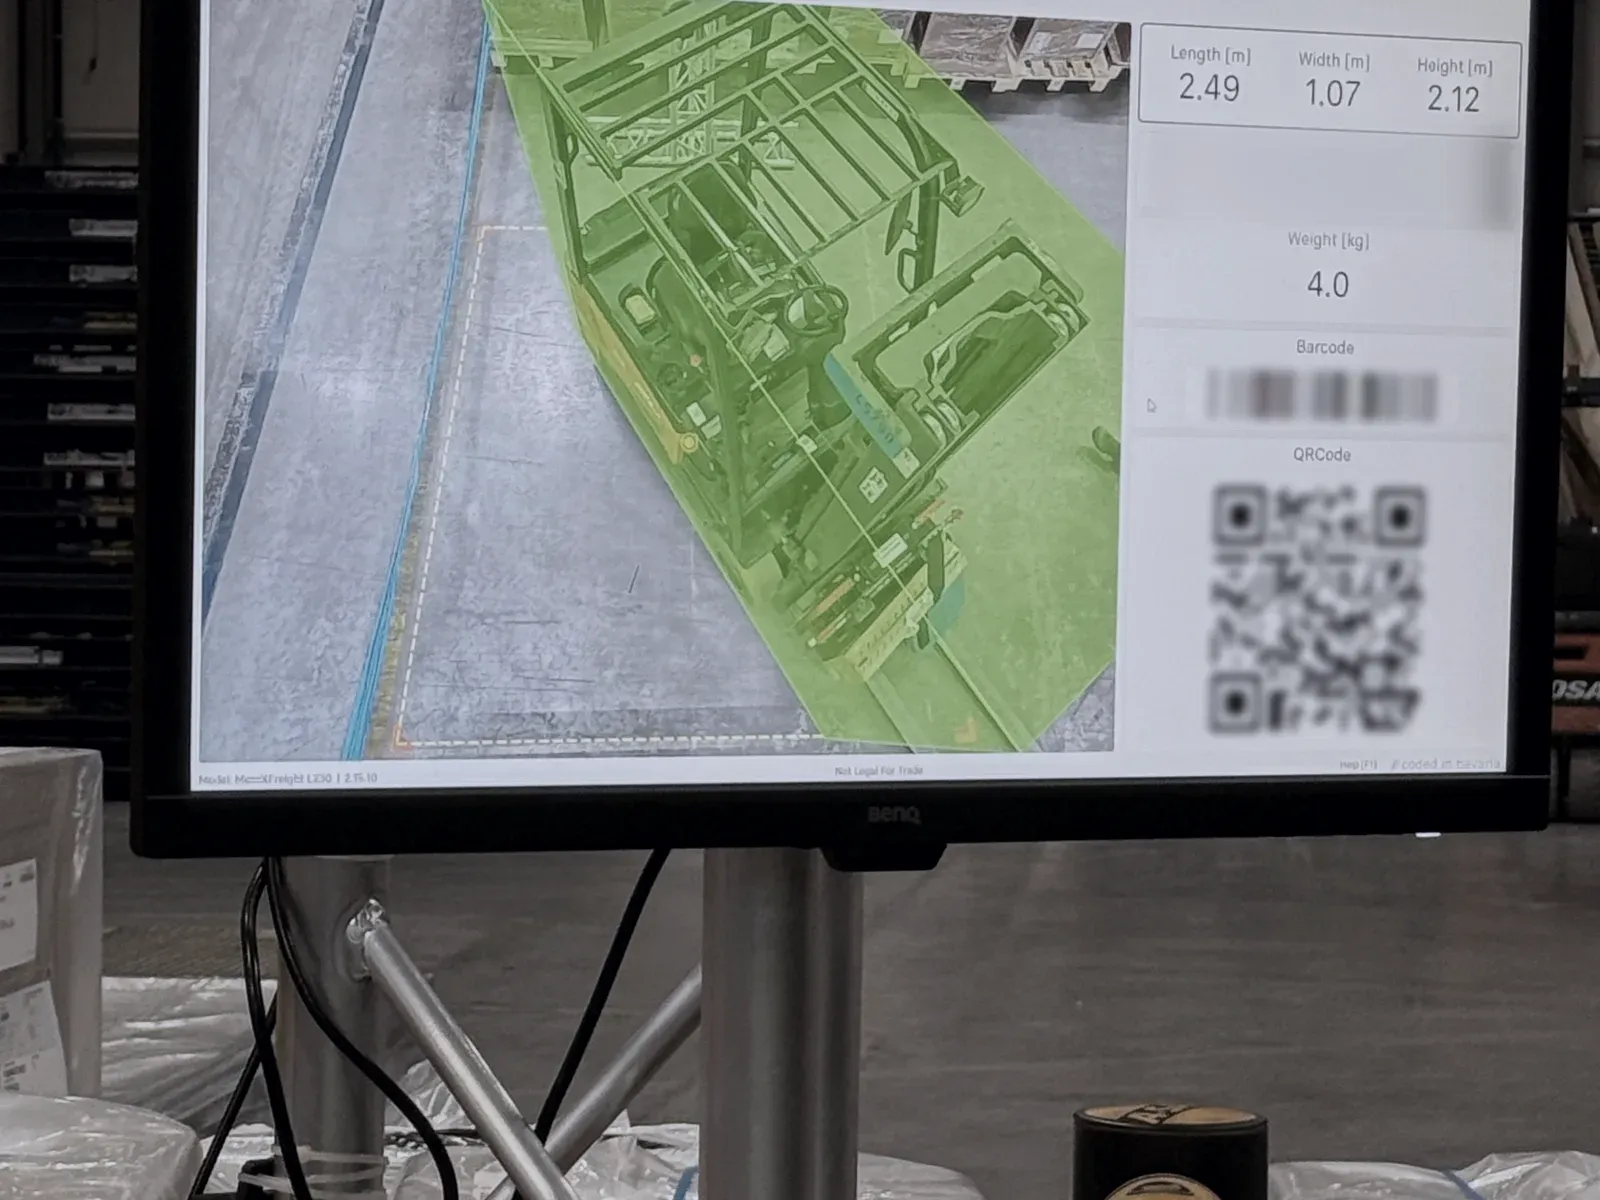
Values measured by hand vary from person to person and from day to day, and often they are missing altogether. A dimensioning system captures every shipment by the same rules. With MetriXFreight a measurement takes around 200 milliseconds, and the values are in your system straight away.
Where to start
- Check your master data. Find out which items have no dimensions or implausible ones. An automated warehouse usually starts with a master data inventory, item by item. How to do that automatically is explained under Automate master data capture.
- Choose the measuring point. You can measure in receiving, in shipping or at a dedicated station. How measuring time and distances affect your throughput is shown in the simulations What does the stop cost? and Standing still or driving through.
- Define the data flow. Decide who triggers the measurement and where the values go. The options are described on the page Connect to WMS, TMS and ERP.
- Calculate the benefit. Weigh the one-off and running costs against avoided surcharges and saved working time. You can do that with your own figures in the payback calculator.
Common mistakes and how to avoid them
- Wanting everything at once. Start with a step that pays off quickly, such as dimensioning in receiving, and build on it.
- Involving employees late. The people who work with the system every day know the processes best. Bring them in early.
- Automating with bad data. An automated warehouse carries errors in the master data forward instead of correcting them. Clean up the data before processes build on it.
- Building isolated solutions. Look for open interfaces so that the dimensioning system, WMS and transport system can exchange data.
- Standing still after go-live. Keep an eye on metrics such as surcharges, utilization and the share of shipments measured, and adjust your processes when something changes.